Stage 2: Placement of Tubero Pterygoid Dental Implants
- Eating Before the Procedure
On the day of the placement of your tubero pterygoid dental implants, you should avoid consuming any food 4 hours prior to the procedure.
Before commencing, the relevant areas will be completely numbed with a local anaesthetic, so that you will not feel any pain at all during the whole procedure, solely some pressure or vibrations.
You may also be placed under prior IV sedation or general anaesthesia depending on your concerns and agreed individualised treatment plan.
- Extraction of Teeth & Insertion of Tubero Pterygoid Dental Implants
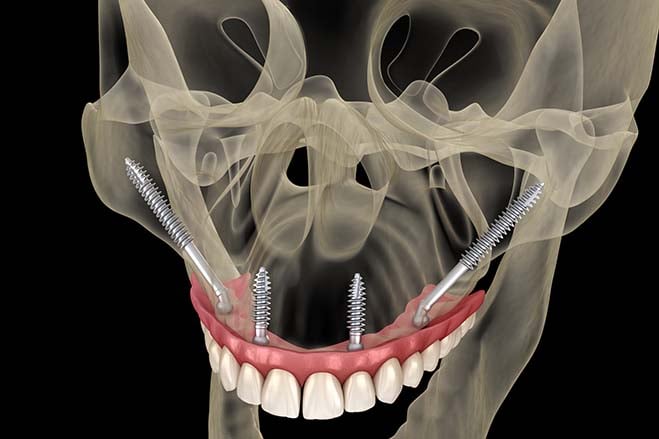
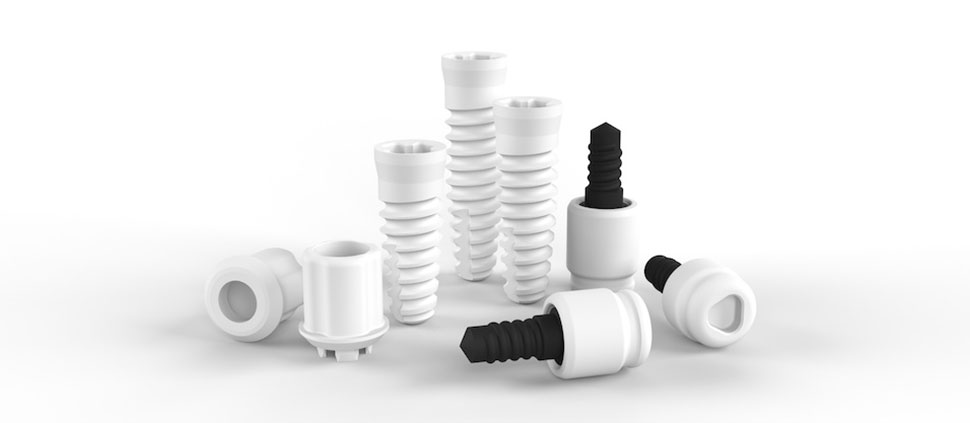
Your dentist will first carry out any necessary extraction of the relevant teeth. Thereafter, he or she will precisely place the tubero pterygoid implant fixtures into your upper jaw.
- Interim Tubero Pterygoid Bridge Prostheses
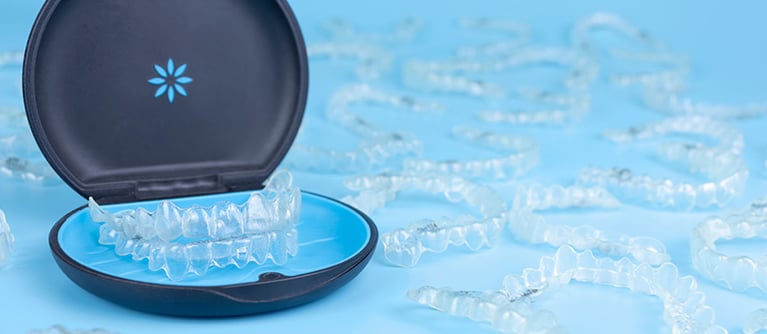
Our in-house laboratory will then proceed to custom-make your interim tubero pterygoid bridge prostheses, which will be used temporarily while your permanent bridge prostheses are being produced.
The interim prostheses will be fitted to your implant fixtures in the same session, successfully restoring your smile, form, and function on the same day.
Stage 5: Final Bridge Prostheses
- Constructing Your Final Bridge Prostheses Using CAD-CAM
Suppose healing has been consistent and your mouth has stabilised – in that case, your final bridge prostheses will then be constructed via CAD-CAM 4-6 months after your initial implant placement.
- Choosing the Material of Your Final Bridge Prostheses
You can choose a bridge made with acrylic or one made with ceramic, a stellar material. The final bridge prostheses will be a much enhanced fit than your interim ones; the digital dentistry involved allows for customisation with a notable accuracy.


